Master the Reverse Sear: Perfectly Cooked NY Strip Every Time
Imagine sinking your teeth into a New York Strip steak that’s perfectly cooked from edge to edge, boasting a juicy, tender interior, a beautiful rosy pink, and an irresistibly smoky, golden-brown crust. If your current steak-cooking methods leave you with uneven doneness, a dreaded grey band, or a less-than-perfect sear, it's time to revolutionize your approach. The secret? The reverse sear. This technique isn't just a trend; it's a culinary revelation that consistently delivers what many consider the best steak you'll ever make at home. When you experience the unparalleled quality of
Why Reverse Searing is the ONLY Way for Perfect NY Strip Steaks, you'll understand why professional chefs and home cooks alike swear by it.
What Exactly *Is* Reverse Searing?
The concept of reverse searing might sound counter-intuitive at first, especially if you've been taught the conventional wisdom of searing meat first to "lock in juices." For decades, countless recipes and culinary experts advocated for an initial high-heat sear. However, modern culinary science has debunked the myth of "locking in juices." While searing undeniably adds incredible flavor and a desirable crust through the Maillard reaction, it doesn't prevent moisture loss.
Reverse searing, as its name implies, flips the traditional method on its head. Instead of starting with a blistering sear, you begin by cooking the steak slowly at a low temperature until it reaches near-perfect doneness throughout. This "low and slow" phase can take place in a conventional oven or on a grill using indirect heat. Once the internal temperature of the steak is just shy of your desired final temperature, you then finish it with a quick, intense sear in a screaming hot pan or directly over high heat on the grill.
This deliberate two-stage process ensures that the steak cooks incredibly evenly from the center to the edges, eliminating the frustrating gradient of overcooked meat found in traditionally seared steaks. The slow ramp-up in temperature prevents the outer layers from drying out while the interior slowly comes to temperature, resulting in a significantly more tender and juicy final product.
Why Reverse Searing Reigns Supreme for NY Strip Steaks
While reverse searing can elevate almost any cut of meat, it truly shines with thicker cuts like a New York Strip steak, cowboy ribeye, or a grand tomahawk steak. Here’s why this method is particularly ideal for achieving perfect
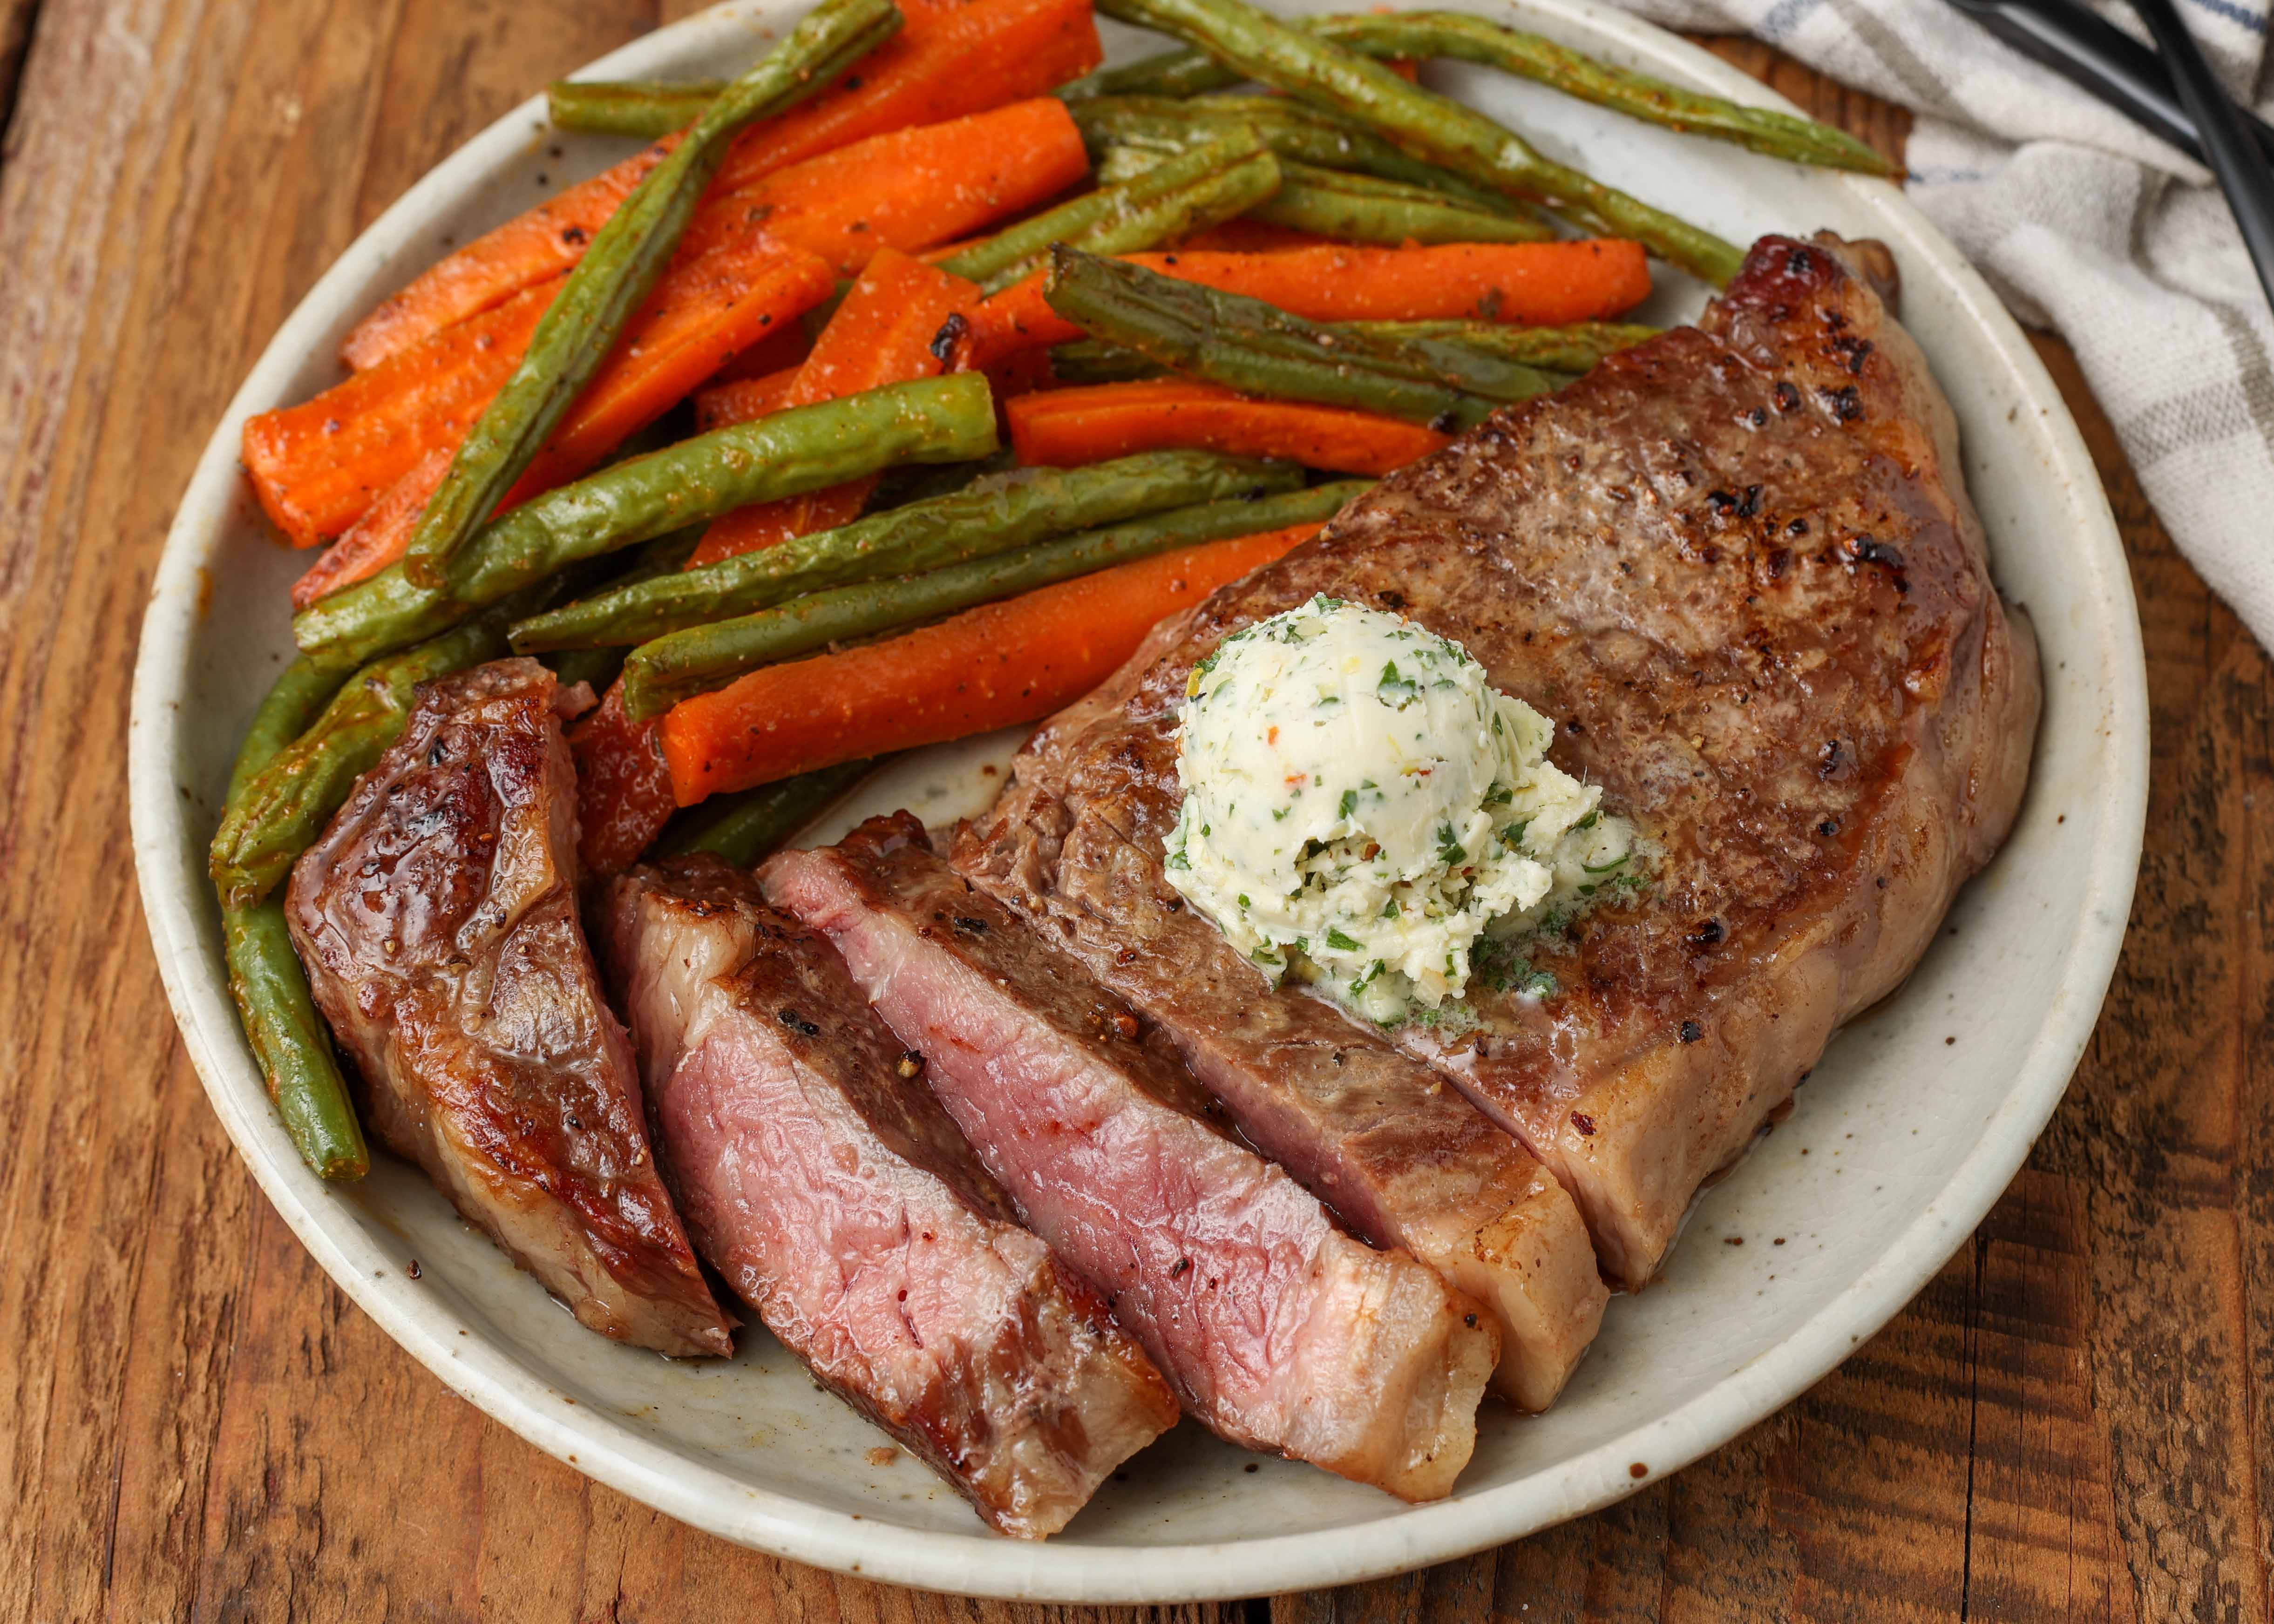
Achieve Juicy, Tender NY Strip Steaks with a Crispy Reverse Sear:
- Unmatched Evenness: The primary benefit is the almost unbelievably even doneness. Imagine a steak with no grey band, just a beautiful, consistent pink from one side to the other. The low, slow cook allows heat to penetrate gently and uniformly, leading to this perfect gradient-free result.
- Superior Texture: Because the meat cooks slowly, the muscle fibers relax, contributing to an incredibly tender bite. Combined with the crispy, flavorful crust from the final sear, the textural contrast is simply sublime.
- Enhanced Juiciness: Traditional high-heat cooking can cause the exterior of the steak to cook much faster, squeezing out juices before the interior is done. Reverse searing minimizes this by allowing the internal temperature to rise gently, ensuring the meat retains more of its natural moisture.
- Perfect Sear, No Compromises: Since the steak is already mostly cooked, the final sear is very quick. This means you can achieve that sought-after deep brown crust and complex flavor without overcooking the delicate interior.
- Greater Control: Using a meat thermometer throughout the slow-cook phase gives you unparalleled control over the final doneness. You’re not guessing; you’re precisely guiding the steak to perfection.
After trying this method for over a decade, many home cooks, myself included, will tell you it's the *only* way to consistently achieve restaurant-quality steak at home.
The Step-by-Step Guide to Perfect Reverse Seared NY Strip Steaks
Making reverse seared NY strip steaks involves a few key steps, but the process is straightforward and incredibly rewarding.
- Choose Your Steak: Start with a thick-cut New York Strip steak, ideally 1 ¼ to 1 ½ inches thick. Thicker cuts benefit most from this method.
- Preparation is Key:
- Pat Dry: This is crucial! Use paper towels to thoroughly pat your steak dry on all sides. Moisture inhibits searing, so the drier the surface, the better the crust will be.
- Season Generously: Season your steak liberally with coarse sea salt and freshly ground black pepper on all sides. Some prefer to do this an hour or two in advance and let it sit at room temperature, which also helps draw out surface moisture.
- Bring to Room Temp (Optional but Recommended): Allow the seasoned steak to sit at room temperature for 30-60 minutes before cooking. This helps promote more even cooking.
- Slow Cook Phase (Oven or Grill):
- Oven Method: Preheat your oven to a low temperature, typically 250-275°F (120-135°C). Place the seasoned steaks on a wire rack set inside a baking sheet. This allows air to circulate around the entire steak, promoting even cooking. Insert an oven-safe meat thermometer into the thickest part of the steak, avoiding bone.
- Grill Method (Indirect Heat): If using a grill, set it up for indirect heat. For a gas grill, turn burners on one side to low/medium and place the steak on the unlit side. For charcoal, bank coals to one side and place the steak on the opposite side. Maintain a grill temperature of 250-275°F.
- Cook Until Target Temperature: Cook until the internal temperature reaches 10-15°F below your desired final doneness.
- Rare: 110-115°F (final 120-125°F)
- Medium-Rare: 115-120°F (final 125-130°F) - *This is a popular target for NY Strips.*
- Medium: 125-130°F (final 135-140°F)
For a 1 ¼ inch steak, this might take around 20-30 minutes; for a 1 ½ inch steak, it could be 30-45 minutes or more. Always rely on your thermometer, not just the clock!
- Remove and Rest (Briefly): Once your steak hits the target temperature, remove it from the oven or grill. You can let it rest on a cutting board for 5-10 minutes while you prepare your searing station.
- High-Heat Sear Phase (Pan or Grill):
- Pan Method: Heat a heavy-bottomed skillet, preferably cast iron, over high heat until it’s screaming hot – almost smoking. Add a high smoke point oil (like avocado or grapeseed) or clarified butter. Sear the steak for 60-90 seconds per side, until a deep, crusty brown develops. For extra flavor, you can add a tablespoon of unsalted butter, a sprig of rosemary, and a smashed garlic clove to the pan during the last 30 seconds, basting the steak with the melted butter.
- Grill Method (Direct Heat): Move the steak directly over the hottest part of your grill. Sear for 60-90 seconds per side, until a beautiful char and crust are achieved.
- Final Rest: Transfer the seared steak to a clean cutting board. Tent loosely with foil and let it rest for 5-10 minutes. This crucial step allows the juices to redistribute throughout the meat, ensuring every bite is succulent.
- Slice and Serve: Slice against the grain and serve immediately.
Tips for Mastering Your Reverse Sear
To truly master the art of reverse seared NY strip steaks, consider these additional insights:
- Invest in a Good Thermometer: A reliable instant-read meat thermometer is your best friend here. It eliminates guesswork and ensures perfect doneness every single time.
- Don't Rush the Dry: The drier the surface of your steak, the better the sear. Consider placing your seasoned steak on a wire rack in the fridge uncovered for a few hours or even overnight. This method, often called dry brining, really enhances the crust.
- Watch for Smoke: The searing process will be smoky! Ensure good ventilation, open windows, or use your kitchen fan.
- Don't Overcrowd the Pan: If cooking multiple steaks, sear them one or two at a time to maintain high pan temperature. Overcrowding will lower the temperature and lead to steaming rather than searing.
- Experiment with Fat: While high smoke point oils are great, a touch of butter during the final sear adds incredible richness and flavor. Ghee (clarified butter) is also an excellent choice.
- Compound Butters: For an extra layer of flavor, top your finished steak with a dollop of herb compound butter (e.g., garlic-herb butter or blue cheese butter).
Conclusion
The reverse sear method isn't just an alternative way to cook a steak; it's a superior technique that guarantees a consistently perfect result. By cooking your NY Strip steak low and slow, then finishing it with a rapid, high-heat sear, you achieve an unparalleled combination of even doneness, incredible tenderness, and a rich, crispy crust. Once you've experienced the mouthwatering perfection of a reverse seared NY strip steak made by this method, you'll likely never go back to any other way. Embrace the thermometer, trust the process, and prepare to elevate your home cooking to new heights.